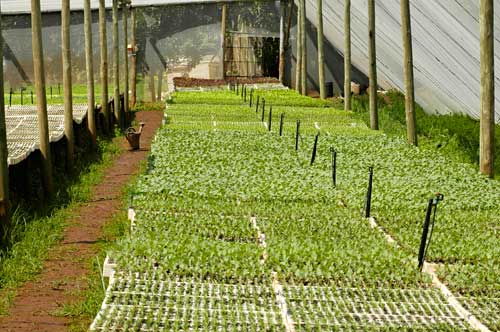
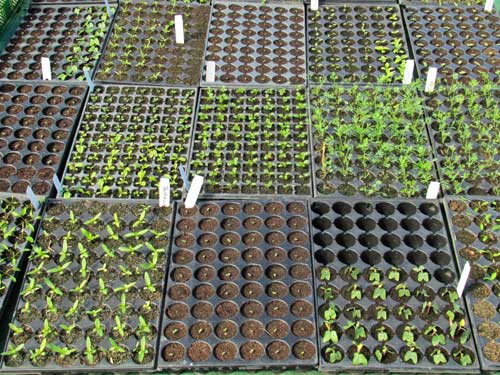
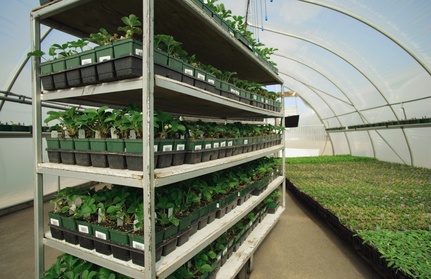
Basic layout of a seedling nursery irrigation system
A simple layout of a nursery using raised seedbeds on which the common 200 plug seed tray will fit can be seen below. Each of these seed trays, made from polystyrene, is approximately 700 mm by 300 mm. The width of the stands should be at least 1400 mm if the seed trays are to be placed in their length across the stands. It has been found that by placing the trays in their length across the stands, the space inside the nursery is used optimally. Nutrients are added into the system via a venturi valve which can be activated through a solenoid valve linked to a timer. Depending on the size of the nursery, each set of seedling stands may have a solenoid valve which can be activated separately depending on the growth stage of the seedlings. However with small nurseries this amount of control is not necessary. The irrigation pipes need not be thicker than the common 20 mm PVC pipe. Use 360° sprinklers at 1.0-1.5 m intervals. Never use the type that sprays a fine mist. Rather use those types that spray a small droplet. During windy conditions the mist will never reach the trays while the chance is greater that a small droplet will fall on the tray. It does not matter is the sprinklers spray onto the ground of sprays over the seedling trays, rather over spray than cause many dead spots where seedlings die due to a lack of water.
A simple layout of a nursery using raised seedbeds method. Each tray is supported with wire running in the length of the seed bed. Nutrients are supplied with a venturi system. The pump and solenoids are controlled via an electronic timer inside the nursery. Notice the radius of the sprinklers overlap each other. This ensures that all plants receive equal amounts of water.
Related Posts


Share This Story, Choose Your Platform!


What affects water quality in hydroponics?
The main factors affecting water quality in hydroponics are chemical, biological, and physical/environmental conditions. Maintaining optimal water quality is essential [...]
Why Water Quality Matters More Than You Think in Hydroponics
What is the ideal water quality for hydroponics. The answer is going to be very fluffy but one thing is [...]